
5 Steps to Creating Print-Ready Files
Before you read this, if you have design software simply download one of our templates and start designing with all the right settings. Otherwise enjoy the tips below.
Print Ready Files - 5 Basic Steps to Get Your Files Ready for Print Getting your files ready for print is a fairly simple process when using a few guidelines from the very inception of the design project. Because today's modern digital printing can take advantage of camera ready files, the process is much more efficient. Basically, this just means that the printer is able to take the file you give them and immediately send it to the printing system - no edits or manipulations are needed to your file first. Here are the 5 basics of getting your files ready for print.
- Make Sure The Resolution Is Right For the best quality professional printing results, it's very important to keep the resolution as high as possible. For example, 300 dpi resolution is considered by most printers to be an absolute minimum. Also, it's important to do each step of the design process in the actual resolution you'll be submitting to the printer to avoid any loss of quality throughout the creative process.
- Make Sure The Colors Are Consistent Chances are, when you are editing an image on for viewing on your computer screen or on a web page, you're using the RGB color format. This is the format computers normally use to display colors. However, when printing accurately, it's important to utilize the CMYK color space option instead. Also, for sharp and crisp black, it's important to use 100% black with no additional CMY encoded (the K in CMYK stands for black).
- Follow Trim And Bleed Guidelines Bleed and trim are the terms used to describe the area around the dimensions of your final image that will be unsafe to use for important content in your design. In a nutshell, it's very important to leave about 1/4 of an inch from the edge of your dimensional content to the edge of any important lines of text or featured images. This area will be used as kind of a buffer zone in the printing process.
- Avoid Drastic Image File Compression The more you can avoid compressing your final design, the better. The recommended file format for saving a file is usually TIFF. This is because the TIFF file format keeps all color information and all pixel information from the original design intact. On the other hand, lossier image files, such as JPG and GIF, reduce file size by eliminating small portions of the image or by getting rid of some of the color information stored within the file. Better final results from printing happen when better quality images are put forth.
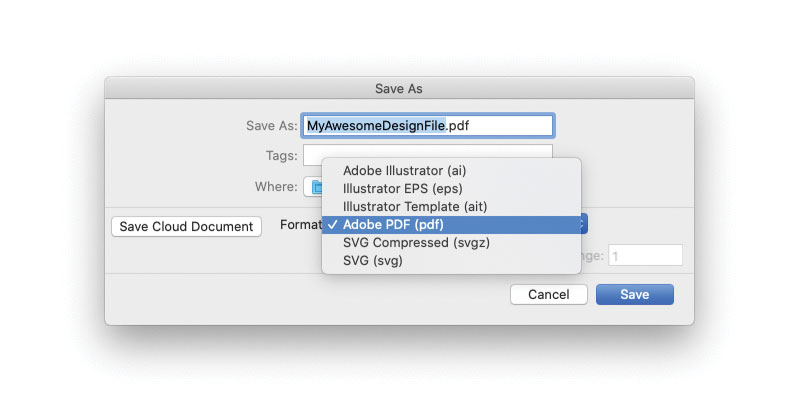
- Save In A Standard Format Once you've finalized your graphic design and text files, it's important to lock them in and place them in sort of a shelter that can be easily shared with the printer. One great way to do this is to use Adobe Acrobat PDF files. They're commonly used in the printing industry because they're cross platform compatible. Plus, using this type of standardized format doesn't allow for the possibility of accidental changes or edits to the camera ready image. Once it's "locked" and saved as a PDF file, how it is shown in that format is how it will be printed.